|
killas
guide to easy skinning
Click
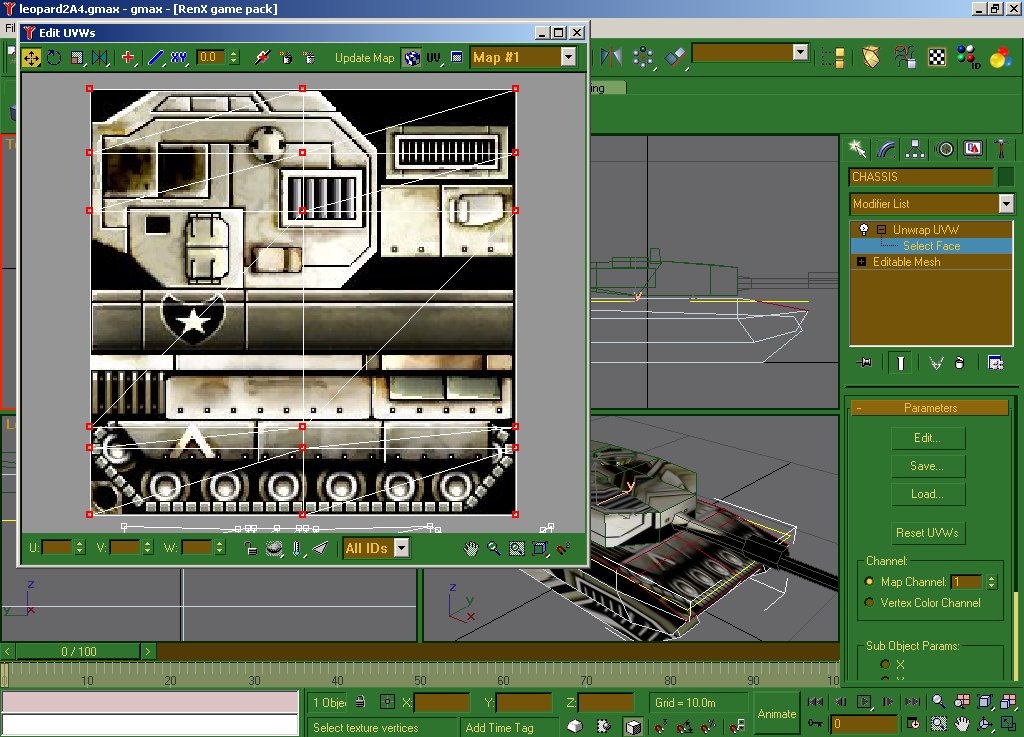
the planar map button, and click on edit
again. What this has done is taken the faces
from the mess we had before and fitted them
squarly inside the boundary, with the verctices
selected in red. At the top are buttons
that are similar to those we use for modelling;
move, rotate, scale, mirror. There are also
zoom and pan buttons at the bottom.
With
these buttons we can move our vertecies
around untill they fit into a part of the
skin. Keep an eye trained on the Perspective
view while moving vertcies around.
After
a little while of moving the vertices about
I seem to have come up with a decent fit,
note the engine grail at the back and the
driver's hatch at the front, and that's
pretty much all there is to it really. You
need a good eye and plenty of patience because
it's all just moving bits around and seeing
if it fits!
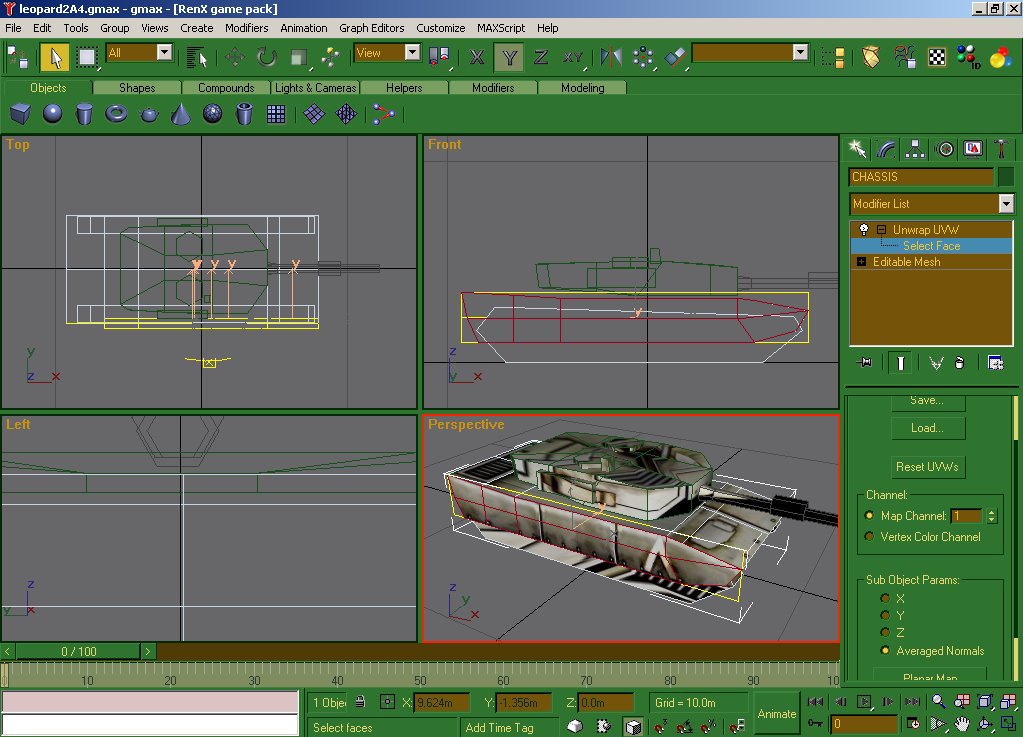
Once
I had done to top of the chassis, I selected
the side and clicked Planar Map, and moves
bits around again, and again I found a good
fit. I did the same to the other side and
kept going with all the bits. Some good
bits of advice, once you have finished a
section like the chassis, convert it to
editable mesh again so you dont loose your
mapping work if you decide to remodel it
a bit. Also if the bit you are mapping goes
badly wrong, you can simply click the planar
map button and start again on those faces!
Proceed
to Part 5
|