|
killas
guide to easy skinning
First
we apply the skin to the meshes. With all
the bits selected, click the Renegade Material
Editor button. It looks like a chess board
on the main toolbar, if you dont see it
drag the main toolbar to the left.
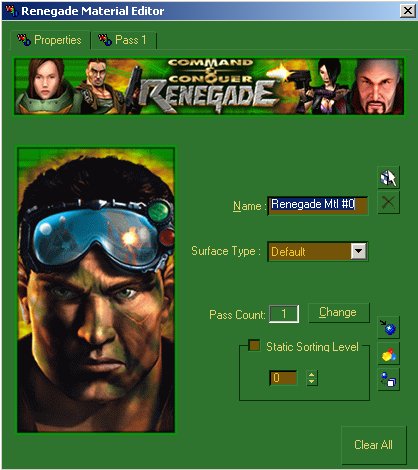
Click
the Make New Renegade Material button (blue
and white box with cursor) and name it whatever
you want. I left it as 'Renegade Mtl #0',
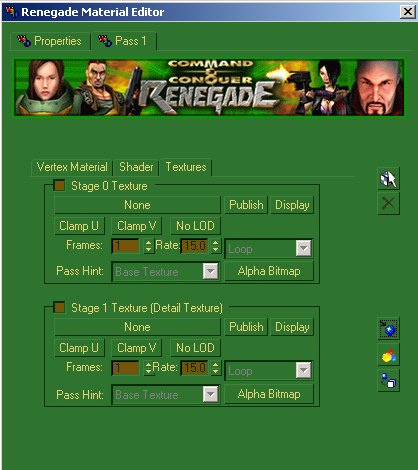
it doesn't matter really. Now click on the
'Pass 1' tab at the top. Click on the 'Textures'
tab that appears half way down. Check the
box to the left of 'Stage 0 Texture' and
press the big button labelled 'None'. this
is where you choose the texture file, so
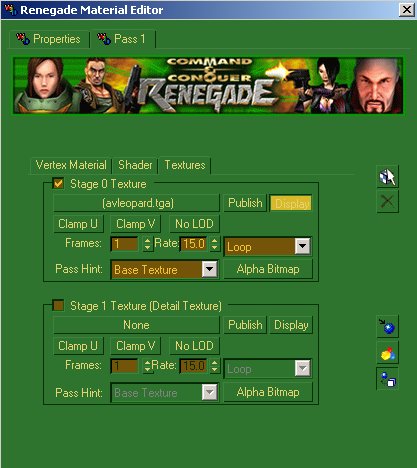
find the skin and click Open. The word None
should have been replaced by the name of
the skin file. Then click the Display button
and finally assign it to the objects using
the button in the bottom right corner.
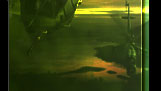
Your
model may have changed color when you apllied
the texture, or it just looks like a colourful
mess. Dont pannic, it just needs a little
work. Here's what mine looked like.
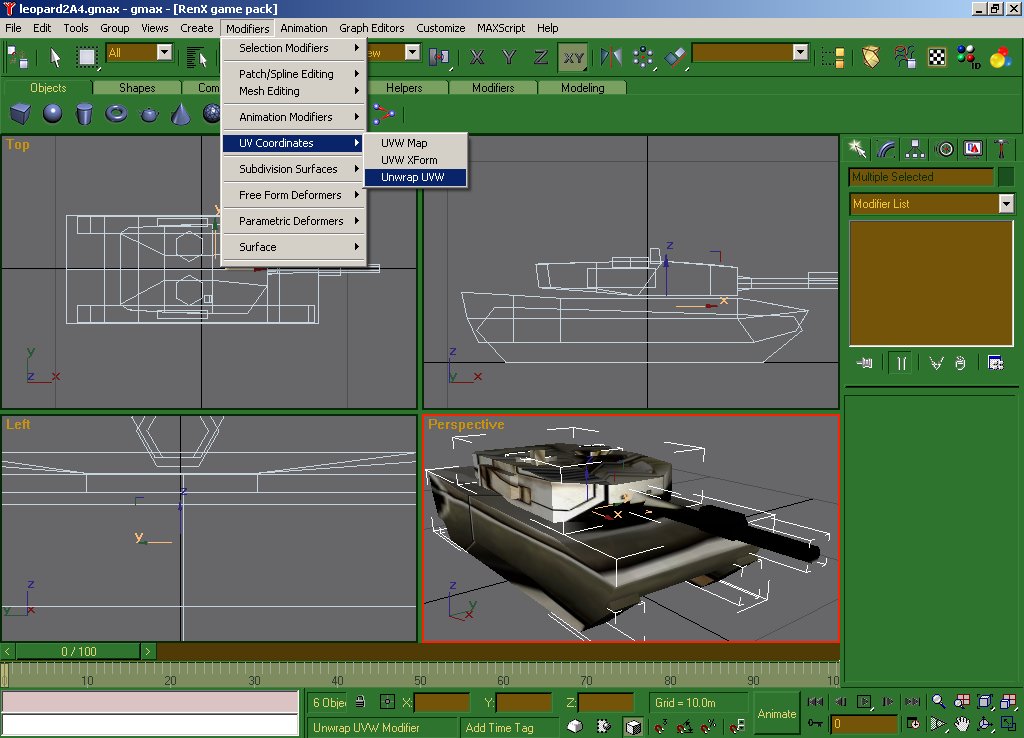
Anyway,
give each section of your model it's own
UVW Unwrap modifier by clicking Modifiers>UVW
Coordinates>Unwrap UVW.
Proceed
to Part 3
|