|
Ok,
nearly done. Now we have our bones in place
we need to link them to the tank and
make sure that their geometrys are not exported.
Using the same linking methods we used earlier,
link the bones into the heirachy. Be carfull
what you link to what. If you have a smoke
bone on the turret, it should be linked
to the turret. The muzzle bone should be
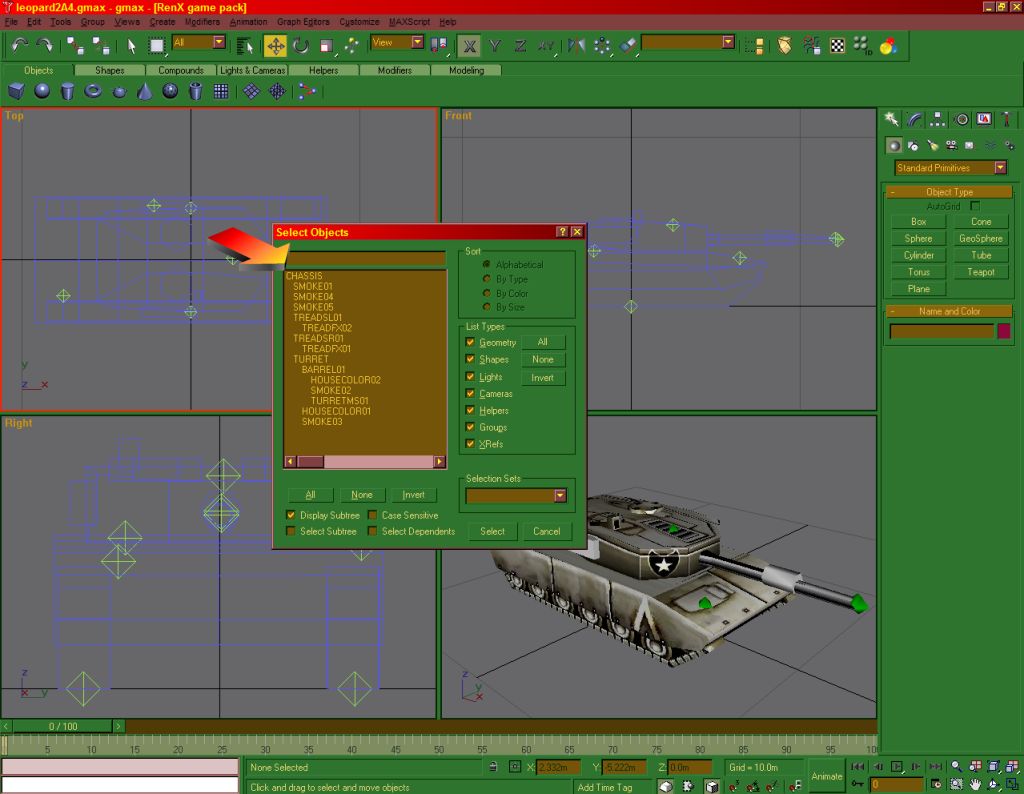
linked to the barrel, etc. Once everything
is linked, hit the 'H' key to check your
subtree. The CHASSIS should always be at
the top of your tree, and everything else
linked under that.
Still
wondering why I make my bones bright green?
It's in case I forget this next step (and
forehead slappingly stupid enough, I often
do) which is to switch off "Export
Geometry" on the bones. This is so
your bones don't show up in game, so when
I forget my tank ends up covered in bright
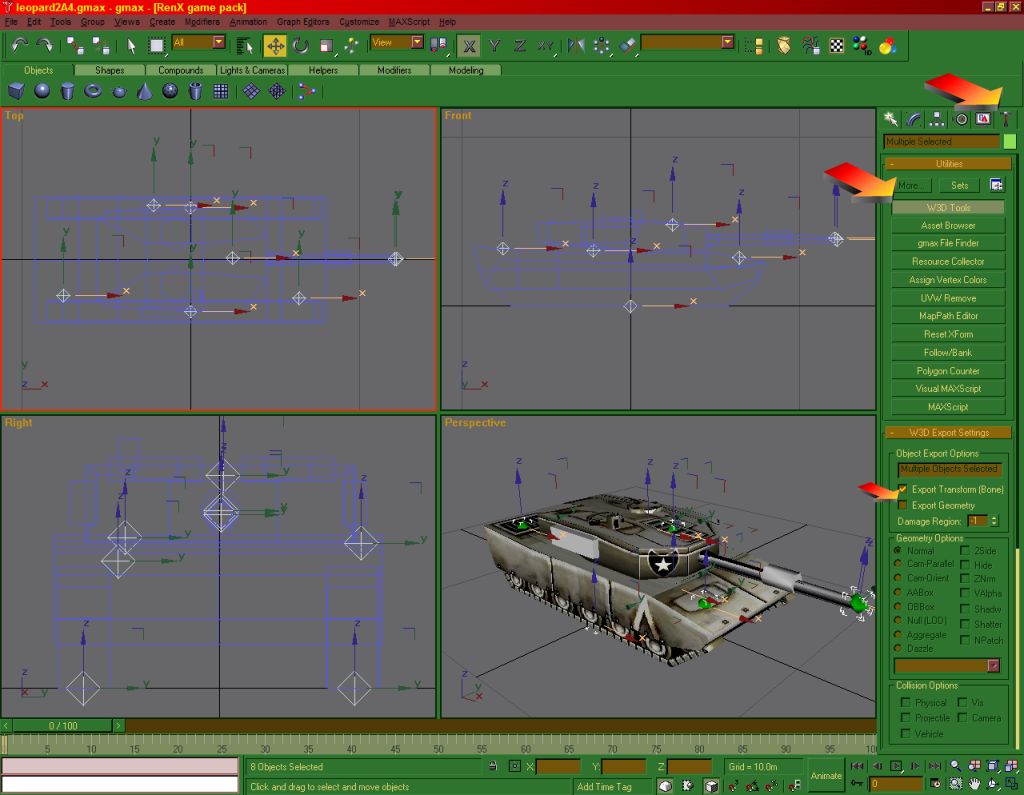
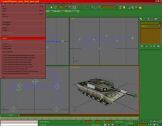
green dots. Select all your bones and to
go the utilities tab (hammer) and click
the W3D Tools button. In the Object Export
Options rollout that appears below, UNCHECK
the Export Geometry box. Leave the Export
Transform box checked.
SAVE
IT!
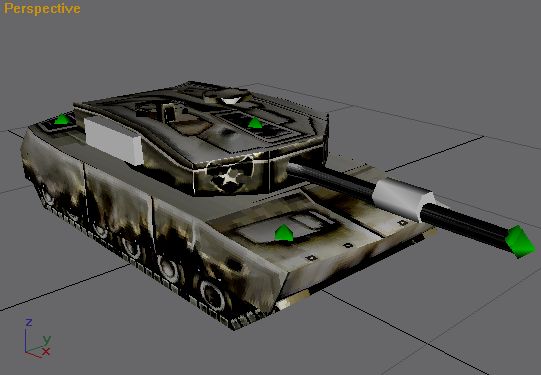
Now
you tank is pretty much done. You can now
make damaged and destroyed models for it
too, which is fun! (Remember to save
your damaged models as separate files, or
you'll be doing more than slapping your
forehead!) But before you can use them in
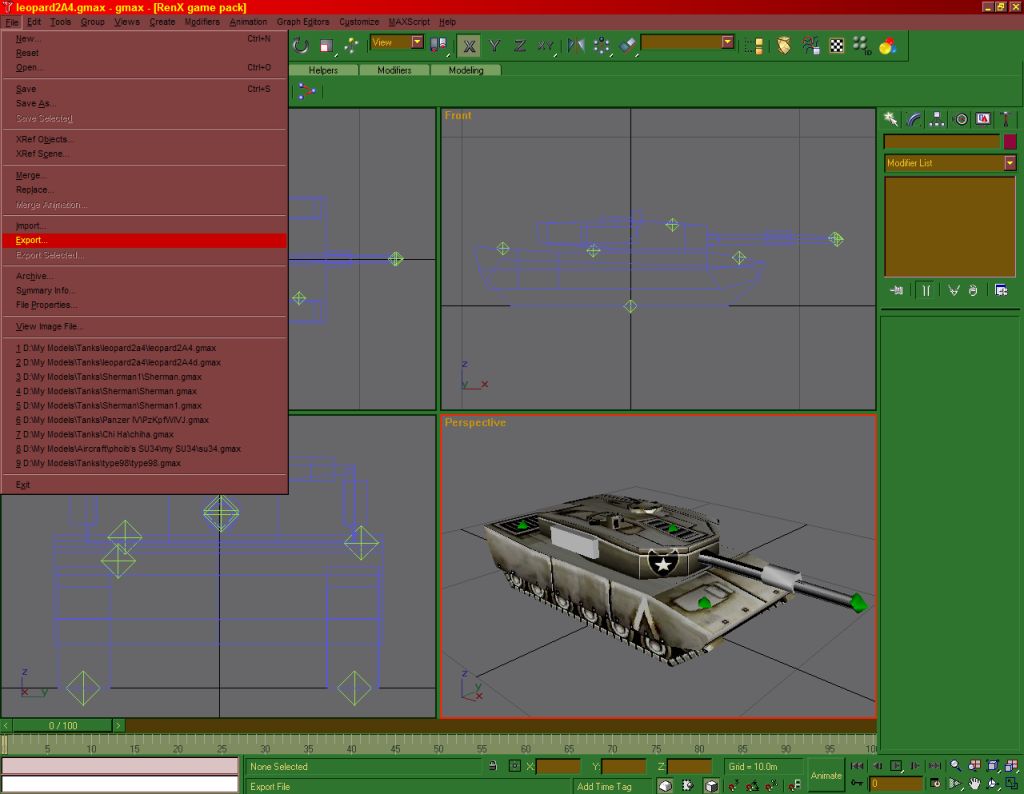
Generals, you need to export them. Click
on File>Export. Choose an export name,
say, avleopard.w3d (hint hint) and click
save. The export options window pops up,
just click ok. If you have a damaged one
export that too, as avleopard_d.w3d for
example...
Page
5
|

|