|
Part 3,
Basic Animation continued
This problem
is easilly fixed. In the Time Configuration
window I simply change the length upto 200,
that'll do for now (you can tell I haven't
a clue how many frames this'll take :P ).
In the time frame there are now 200 frames.
All the keys I set before are still on
the same frames and the animation still
runs at the same speed.
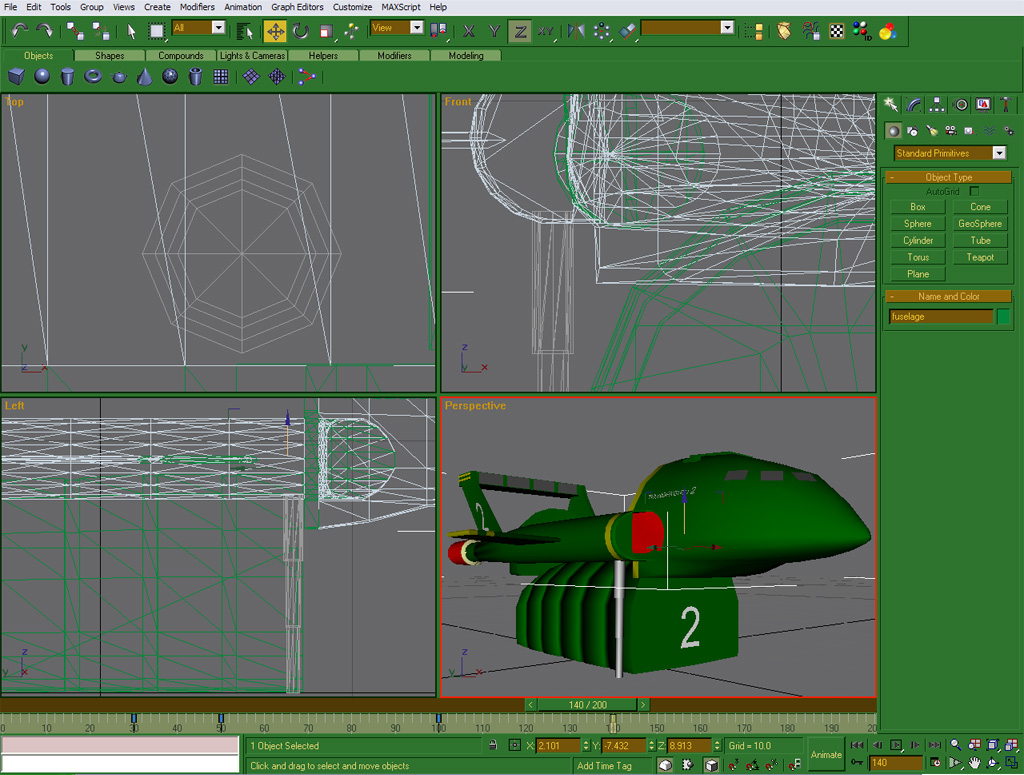
At
this time the final leg segment is at the
top, it doesn't need to move up. All that's
left is for the body to move up on top.
I put it's final frame as 140, it moves
up at a constant speed. But it suddenly
stops. It would look much better if it slows
to a stop. So how do we do this? By manipulating
the final key! With the time slider on the
key I want to manipulate I go to the motion
tab on the Command Panel. At the bottom
is the key info rollout. Here we can control
how the animation flows into and out of
the selected key, and the graph think with
crosses helps you to picture how the animation
flows (3DS Max 5 and up uses a different
system here, you get buttons with the various
track view settings to choose from,
ie east to, ease from, direct etc). Because
I want it to slow to a stop into this key
I increase the "Ease To" setting
(default 0). This can be very much trial
and error in gmax, but in playback 27.5
looked good in this case. Thing is though
it goes up faster from the last key so it
can slow to a stop. To compensate for this
sudden acceleration I moved the key forward
to frame 158, now it can slow to a stop
without suddenly accelerating from the previous
key.
So
now it lifts up nicly and slows to a stop,
but surly breaking all laws of physics
it's only balencing on 1 leg. To get the
other 3 legs I can simply clone the
set of leg segments I already have, and
as a bonus the clones come with the animation
keys so I don't need to do them again!
Proceed
to Part 4
|